
Before you start
A widget is one piece you can place on an overlay. Bloopbot's own widgets, such as the chat box, the goal bar and each alert, are built in. A custom widget is one you wrote, or one you added from the Marketplace. It is kept once, on the Widgets page, and every overlay that shows it shows that same widget: change its code once, publish, and every one of those overlays changes.
Each place a widget appears on an overlay is a layer. A layer keeps its own position, size and settings, so the same raid card can be big on one overlay and small on another, with a different accent colour on each.
You need an overlay to open in Studio. Writing a widget's code is covered in Author a custom graphic; this guide is about keeping and reusing what you make.
1. Make a widget
- Open Overlays, then Open in Studio on any overlay.
- Choose Add at the top of the left panel.
- Press New widget at the foot of Add. It stays outside the categories and the search, so it is always there.
Studio makes a widget on your Widgets page, starting from a raid card, and places it on this overlay as a layer called Custom widget. Select the layer and press Edit widget code in the Widget section to change it: Author a custom graphic walks through the code workspace.
Choosing Edit code on a built-in layer, such as a Label, also makes a widget: a copy of that built-in's code, which no longer gets Bloopbot's fixes. Reset to built-in turns only that layer back; the copy stays on your Widgets page.
2. Place it on another overlay
- Open the other overlay in Studio and choose Add.
- Your widgets sit inside the list, each beneath the built-in widget it is listed under. Every built-in row has an arrow beside its Add button: press it to see the built-in’s example and any widgets listed under it. A row with your widgets shows their count. Widgets listed under no built-in are in More, at the end of their section.
- Each card shows a rendered example, its name, Built-in, Yours or Installed, and, for your widgets, how many overlays use it. A card that cannot draw an example shows its icon.
- Select a widget to put it in the middle of the canvas, or drag it to where you want it.

Find a widget… searches your widgets by name too, and opens the rows that hold them. The categories (Alerts, Media, Chat & info, Goals & games) show your widgets with the built-ins of that section. The square arrow at the end of a widget's row opens it on the Widgets page in a new tab.
3. Edit it once for every overlay
Select a layer that shows one of your widgets. Above its settings, a note says how many overlays use the widget, for example Used in 2 overlays.
- Press Edit widget code in the Widget section and make your change. It saves to your draft as you type.
- Choose Back to Studio. Every layer that shows the widget, on this overlay and on the others, already shows the change in Studio.
- Press Publish. Every overlay that shows the widget changes in OBS.
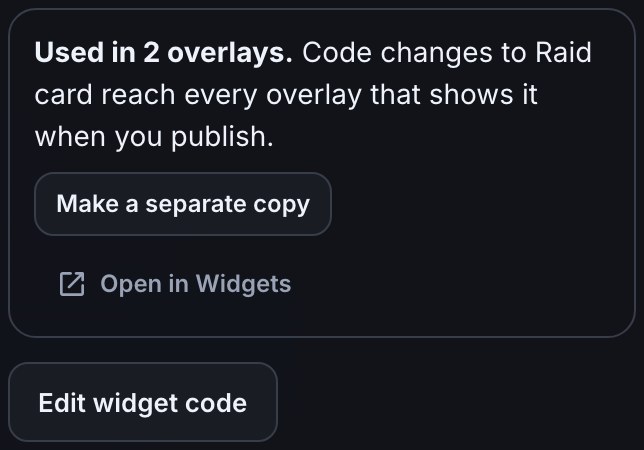
A layer's own settings, such as an accent colour or which flow messages it reacts to, stay with that layer: changing them on one overlay leaves the others as they are. The code, the settings it offers and its examples belong to the widget. Open in Widgets in the same note opens the widget's own page.
Choose where it is listed
Listed under decides which row of Studio's Add list a widget sits beneath. It changes nothing about what the widget does.
- Open Overlays, then the Widgets tab, and select the widget's name.
- Next to its icon, open Listed under and choose a built-in widget, such as Raid alert or Wheel, or a section's More.
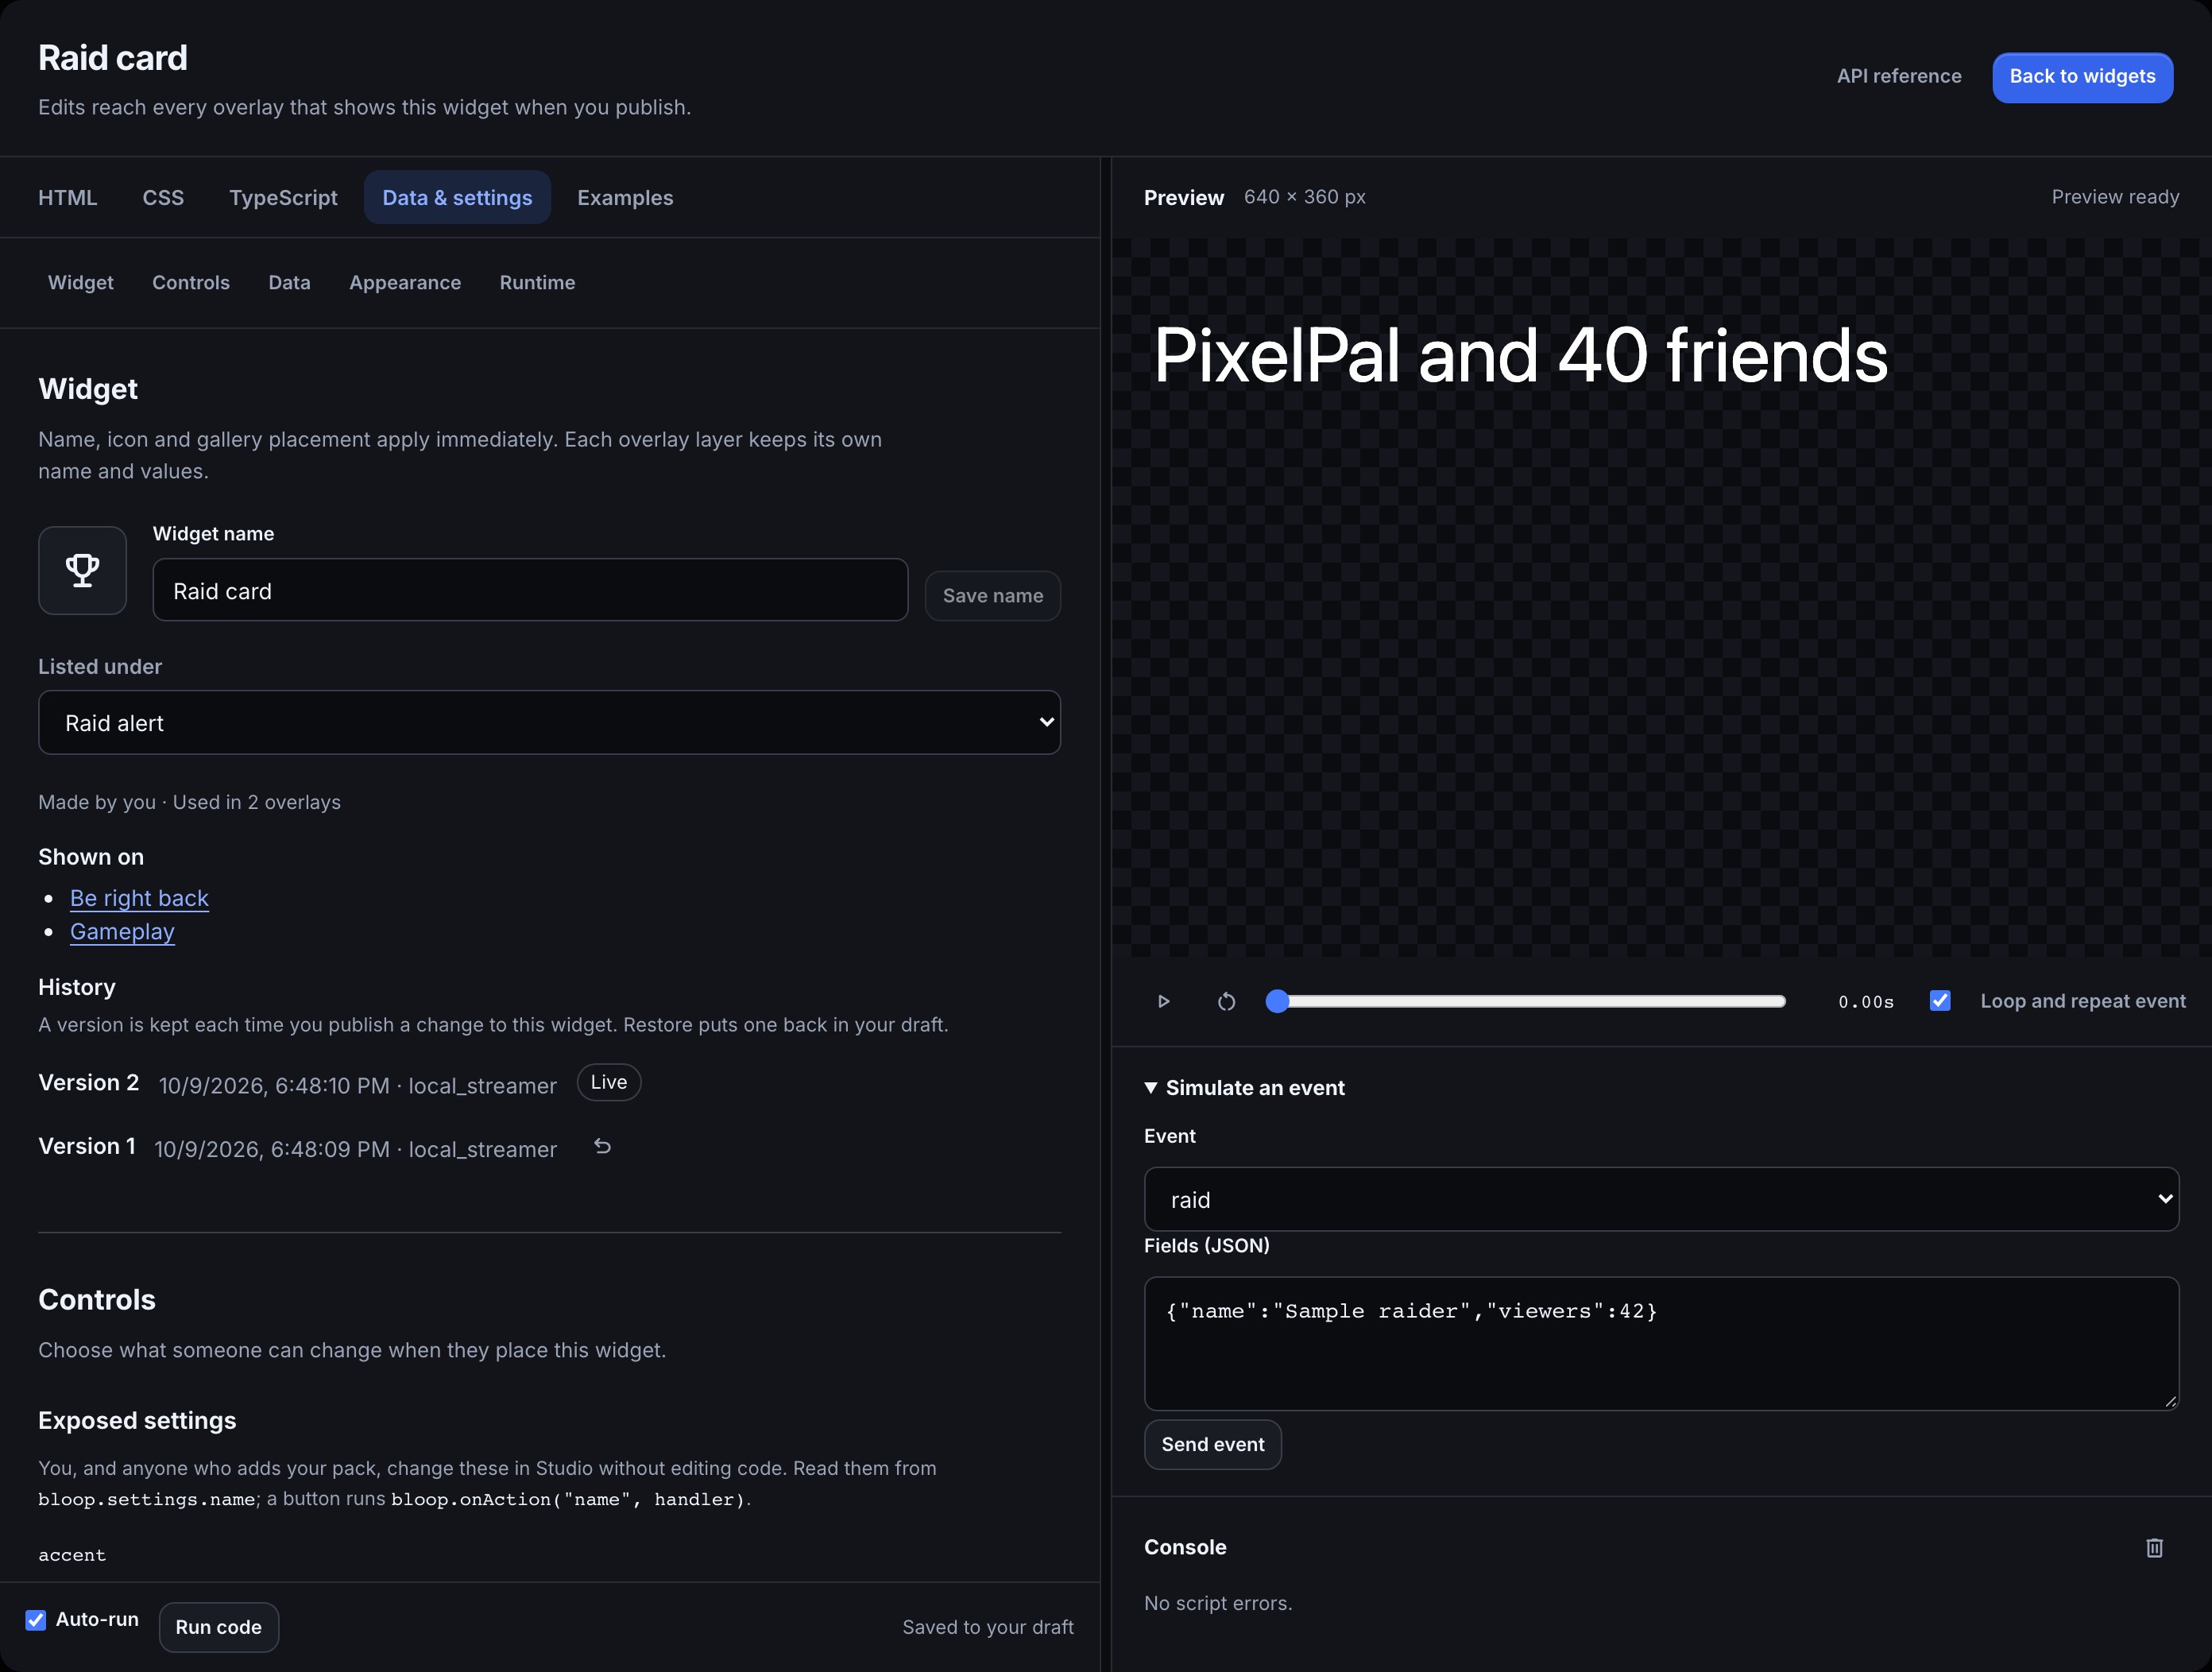
It applies at once, with nothing to publish. Automatic lists a copy of a built-in's code under that built-in, and a widget that uses a built-in's data, such as a wheel, a leaderboard or a Twitch goal, under that built-in. Everything else goes in More under Chat & info, a new widget included.
Give it an icon
- On the Widgets page, press the icon beside the widget's name.
- Under Icons, pick one, or search with Find an icon…. Or choose Your pictures and pick a PNG or WebP from your media library, or upload one.
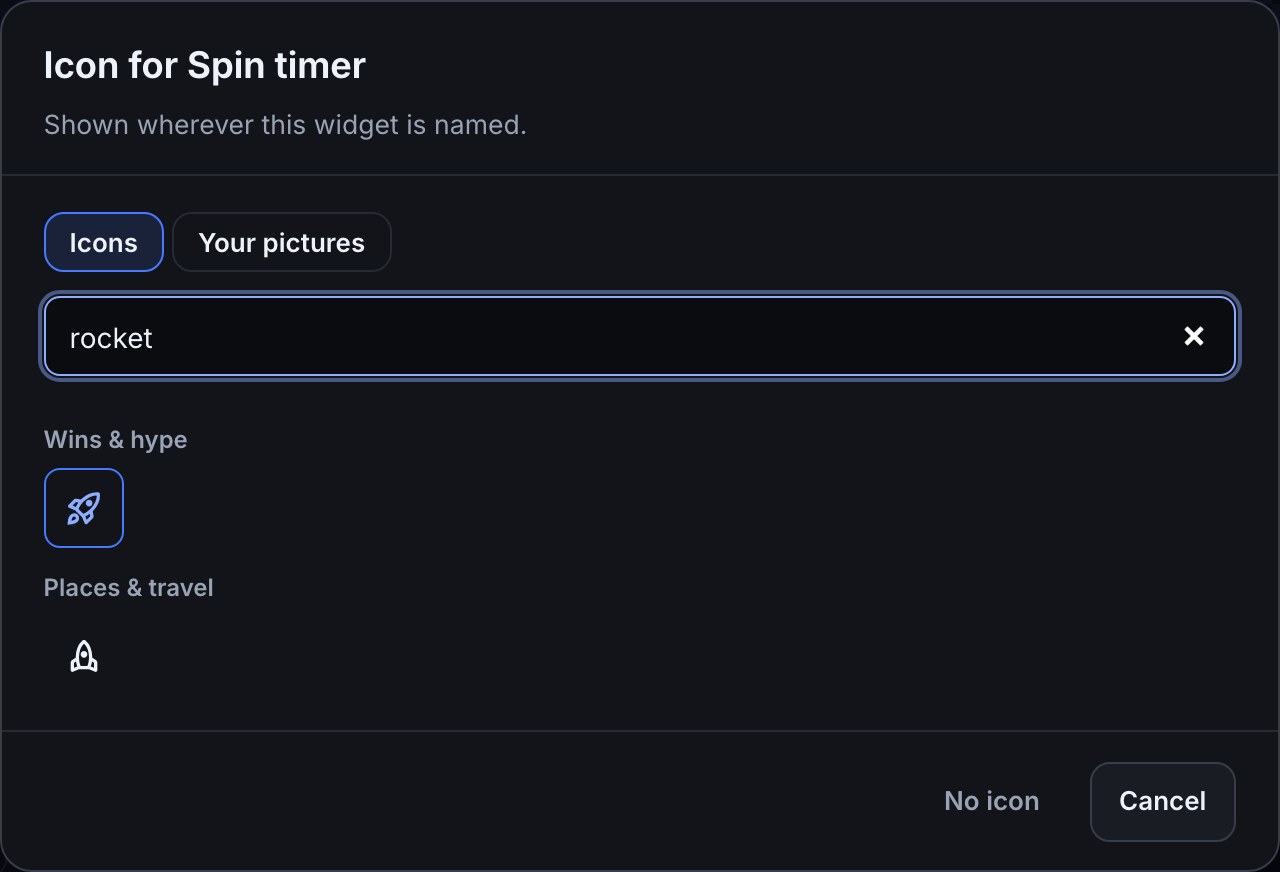
The icon shows in the Add list and on the Widgets page, and Studio shows it on the layer's row and in its settings. No icon puts back the plain one. It applies at once. A picture used as an icon can't be deleted from your media library until you choose another icon.
The Widgets page
Open Overlays, then the Widgets tab beside Overlays and Packs. Each widget shows its icon, its name, Made by you or Installed, how many overlays use it, and Edited, not published or Deleted when you publish while your draft holds a change to it. An installed widget with a newer version waiting shows Update ready.
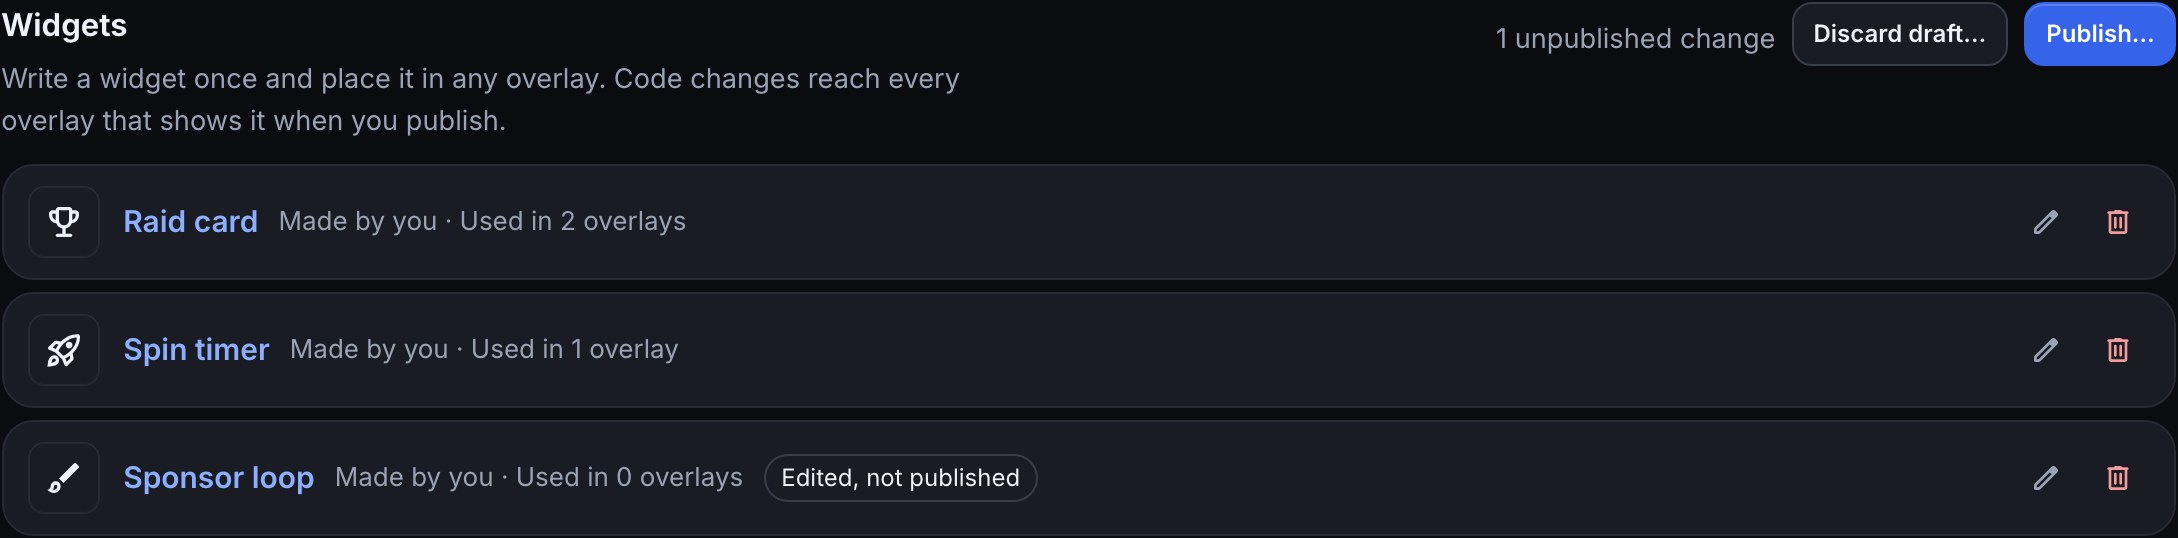
- Press the pencil to rename a widget. The new name applies at once; layers keep their own names.
- Select a name to open the widget: where it is shown, Listed under, its code and its history.
- Edit code opens the code on a blank canvas that plays the widget's examples. Choose Done when you have finished.
- Publish… and Discard draft… at the top act on your whole Studio draft, as they do in Studio.
Go back to an earlier version
Each time you publish a change to a widget, its page keeps the version under History, the last 50 of them.
- Open the widget on the Widgets page.
- Under History, press the restore icon (Restore version 3, for example) beside the version you want.
- The version goes into your draft, and every overlay that shows the widget shows it in Studio. Press Publish… to put it live.
Make a separate copy
To change a widget on one overlay only, give that layer its own copy.
- In Studio, select the layer.
- Press Make a separate copy in the note above its settings, then Make a copy.
Your Widgets page gets a widget with the same name and copy after it, such as Raid card copy, and only this layer shows it. Changes to one no longer reach the other. A sealed widget can't be copied.
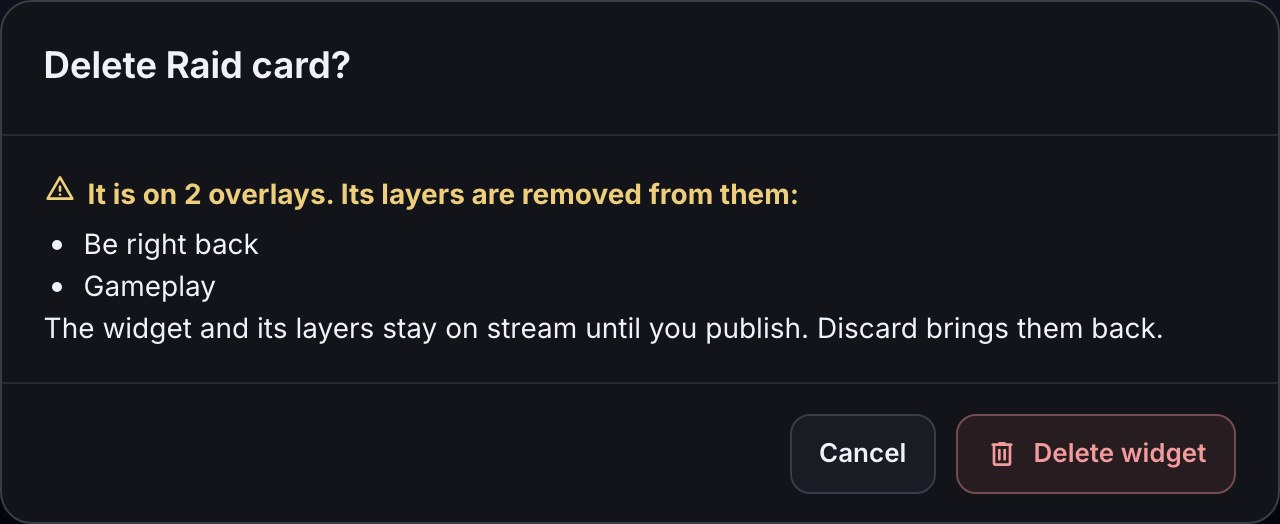
Delete a widget
- On the Widgets page, press the bin beside the widget, or Delete… on its page.
- The warning lists every overlay that shows it: its layers are removed from them. Press Delete widget.
- The widget and its layers stay on stream until you publish, and Discard draft… brings them all back. Press Publish… to delete it for good.
Widgets from the Marketplace
Some Marketplace items are widgets on their own: choose Widgets in Discover to see them. An overlay you add can bring widgets with it, too.
- Open the widget's page and press Add. It goes onto your Widgets page as Installed.
- Under the steps to set it up, Add to an overlay lists your overlays: pick one and press Add to an overlay. The widget lands in that overlay's draft at the spot you pick under Where on the overlay (top left to start). Open the overlay in Studio to move it, then Publish.
You can place an installed widget from Studio's Add list too, like one of yours, under the row its creator listed it under.
When its creator publishes a new version, the item moves to Update ready under Installed, and the widget shows Update ready on your Widgets page. If you haven't changed the widget, Update puts the new version in your draft; publish to put it live. If you changed its code, the update asks first: Keep mine, chosen to start with, keeps your version, and Use the new one puts the creator's version in your draft. Either way your layers keep their own settings. See Update what you added.
A sealed widget's creator keeps its code private: you can place it, change the settings it offers and take its updates, but not see, edit or copy its code. See Sealed graphics.
Ask an assistant
A connected AI assistant allowed to edit your overlays can list your widgets, make one, put it on an overlay, change its code once for every overlay, restore a version, make a separate copy, rename it, give it an icon and choose where it is listed. It can't read or change a sealed widget's code. Its code changes wait in your draft until you publish, or until the assistant publishes with your go-ahead.
If something looks wrong
- My change shows on only one overlay — the other overlay's layer may show a separate copy: select it and read the name in its note. Or the change isn't published yet: press Publish.
- I can't find my widget in Add — open the row it is listed under, or More at the end of its section, or search for its name. Check Listed under on its page. A widget deleted in your draft is left out until you publish or discard.
- Edit widget code isn't there — the widget is sealed. Its creator's listing is the only place its code changes.
- A picture won't delete from my media library — a widget uses it as its icon or in its code. Choose another icon, or change the code and publish.
Was this guide helpful?
Thanks. Your answer helps us decide which guides to improve.